Quick Start: Get your station on air in 5 minutes
From sign-up to your first listener — create a station, upload music and start broadcasting 24/7 from the cloud, with no software to install.
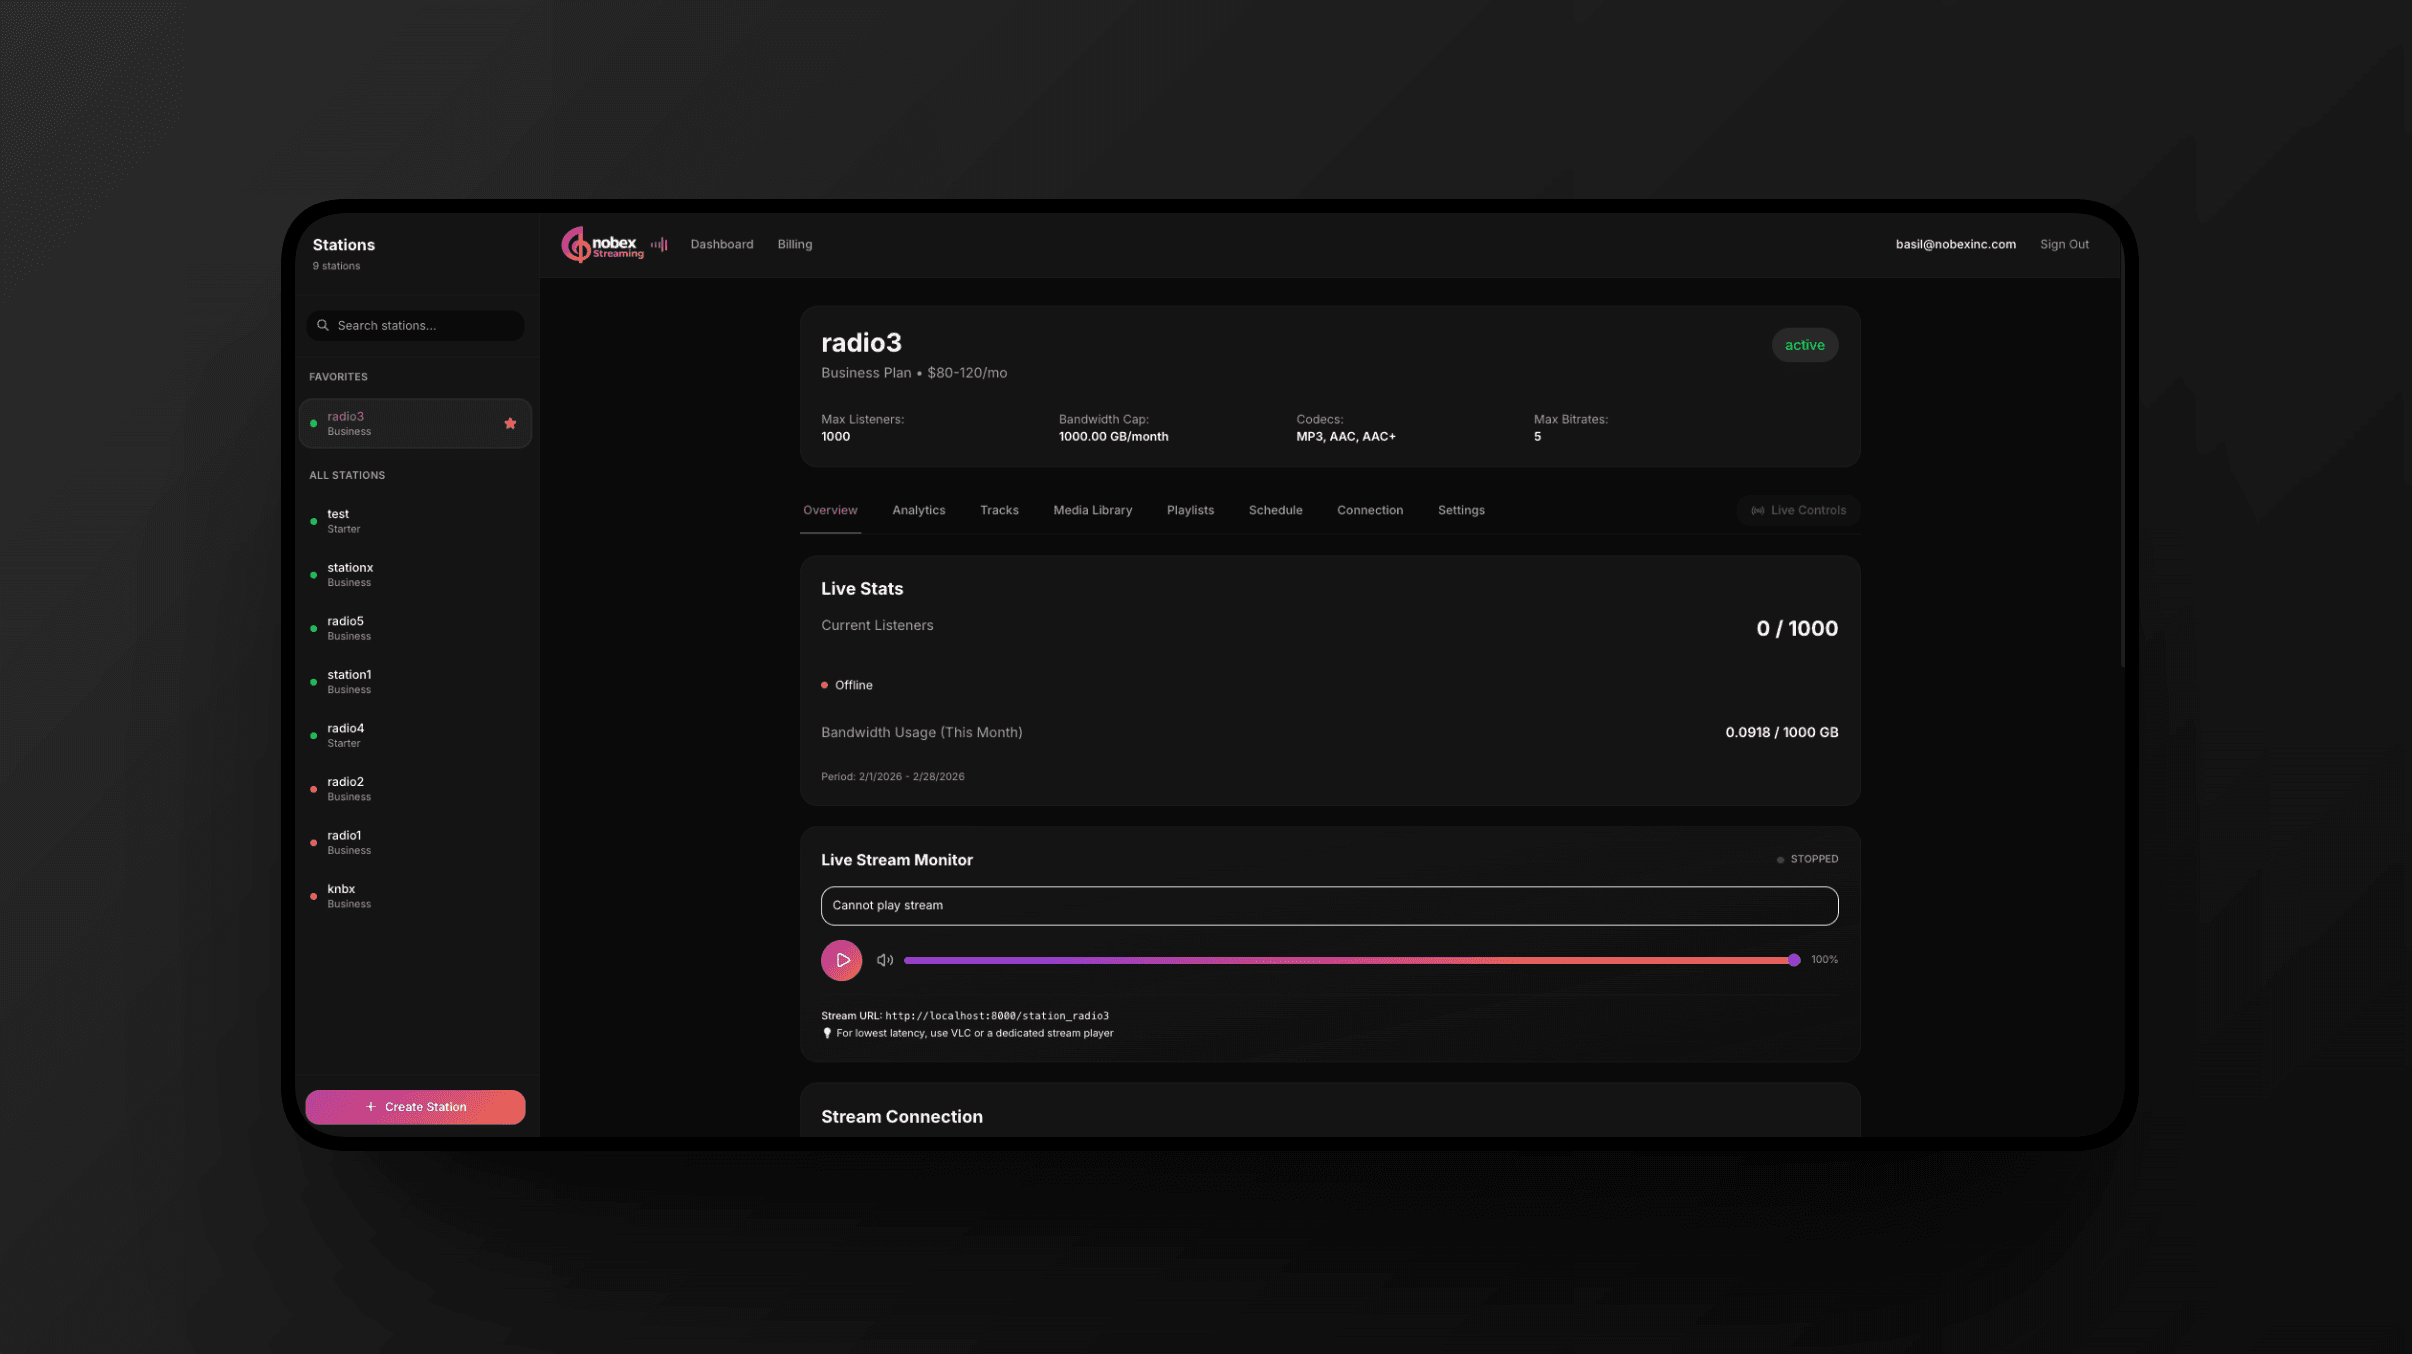
Nobex Streaming runs your radio station 24/7 from the cloud. You don't need an encoder, a spare computer, or any software — upload your music, press Start Broadcasting, and you're live. This guide walks you through your first five minutes, end to end.
What you need
Just a browser and some music files (MP3, WAV, FLAC or OGG). A free trial gives you a real, on-air station — no card required to start on the no-card trial.
1. Create your account
Head to the sign-up page and enter your name, email and a password. Before you can create an account you'll confirm you hold the licenses required to stream your content — in the US that typically means SoundExchange plus a PRO such as ASCAP, BMI, SESAC or GMR.
Add your license IDs up front
Expand “Add license account IDs” and enter your SoundExchange and PRO account numbers now. Nobex uses them later to pre-fill your royalty Reports of Use, saving you a chore every month.
2. Create your first station
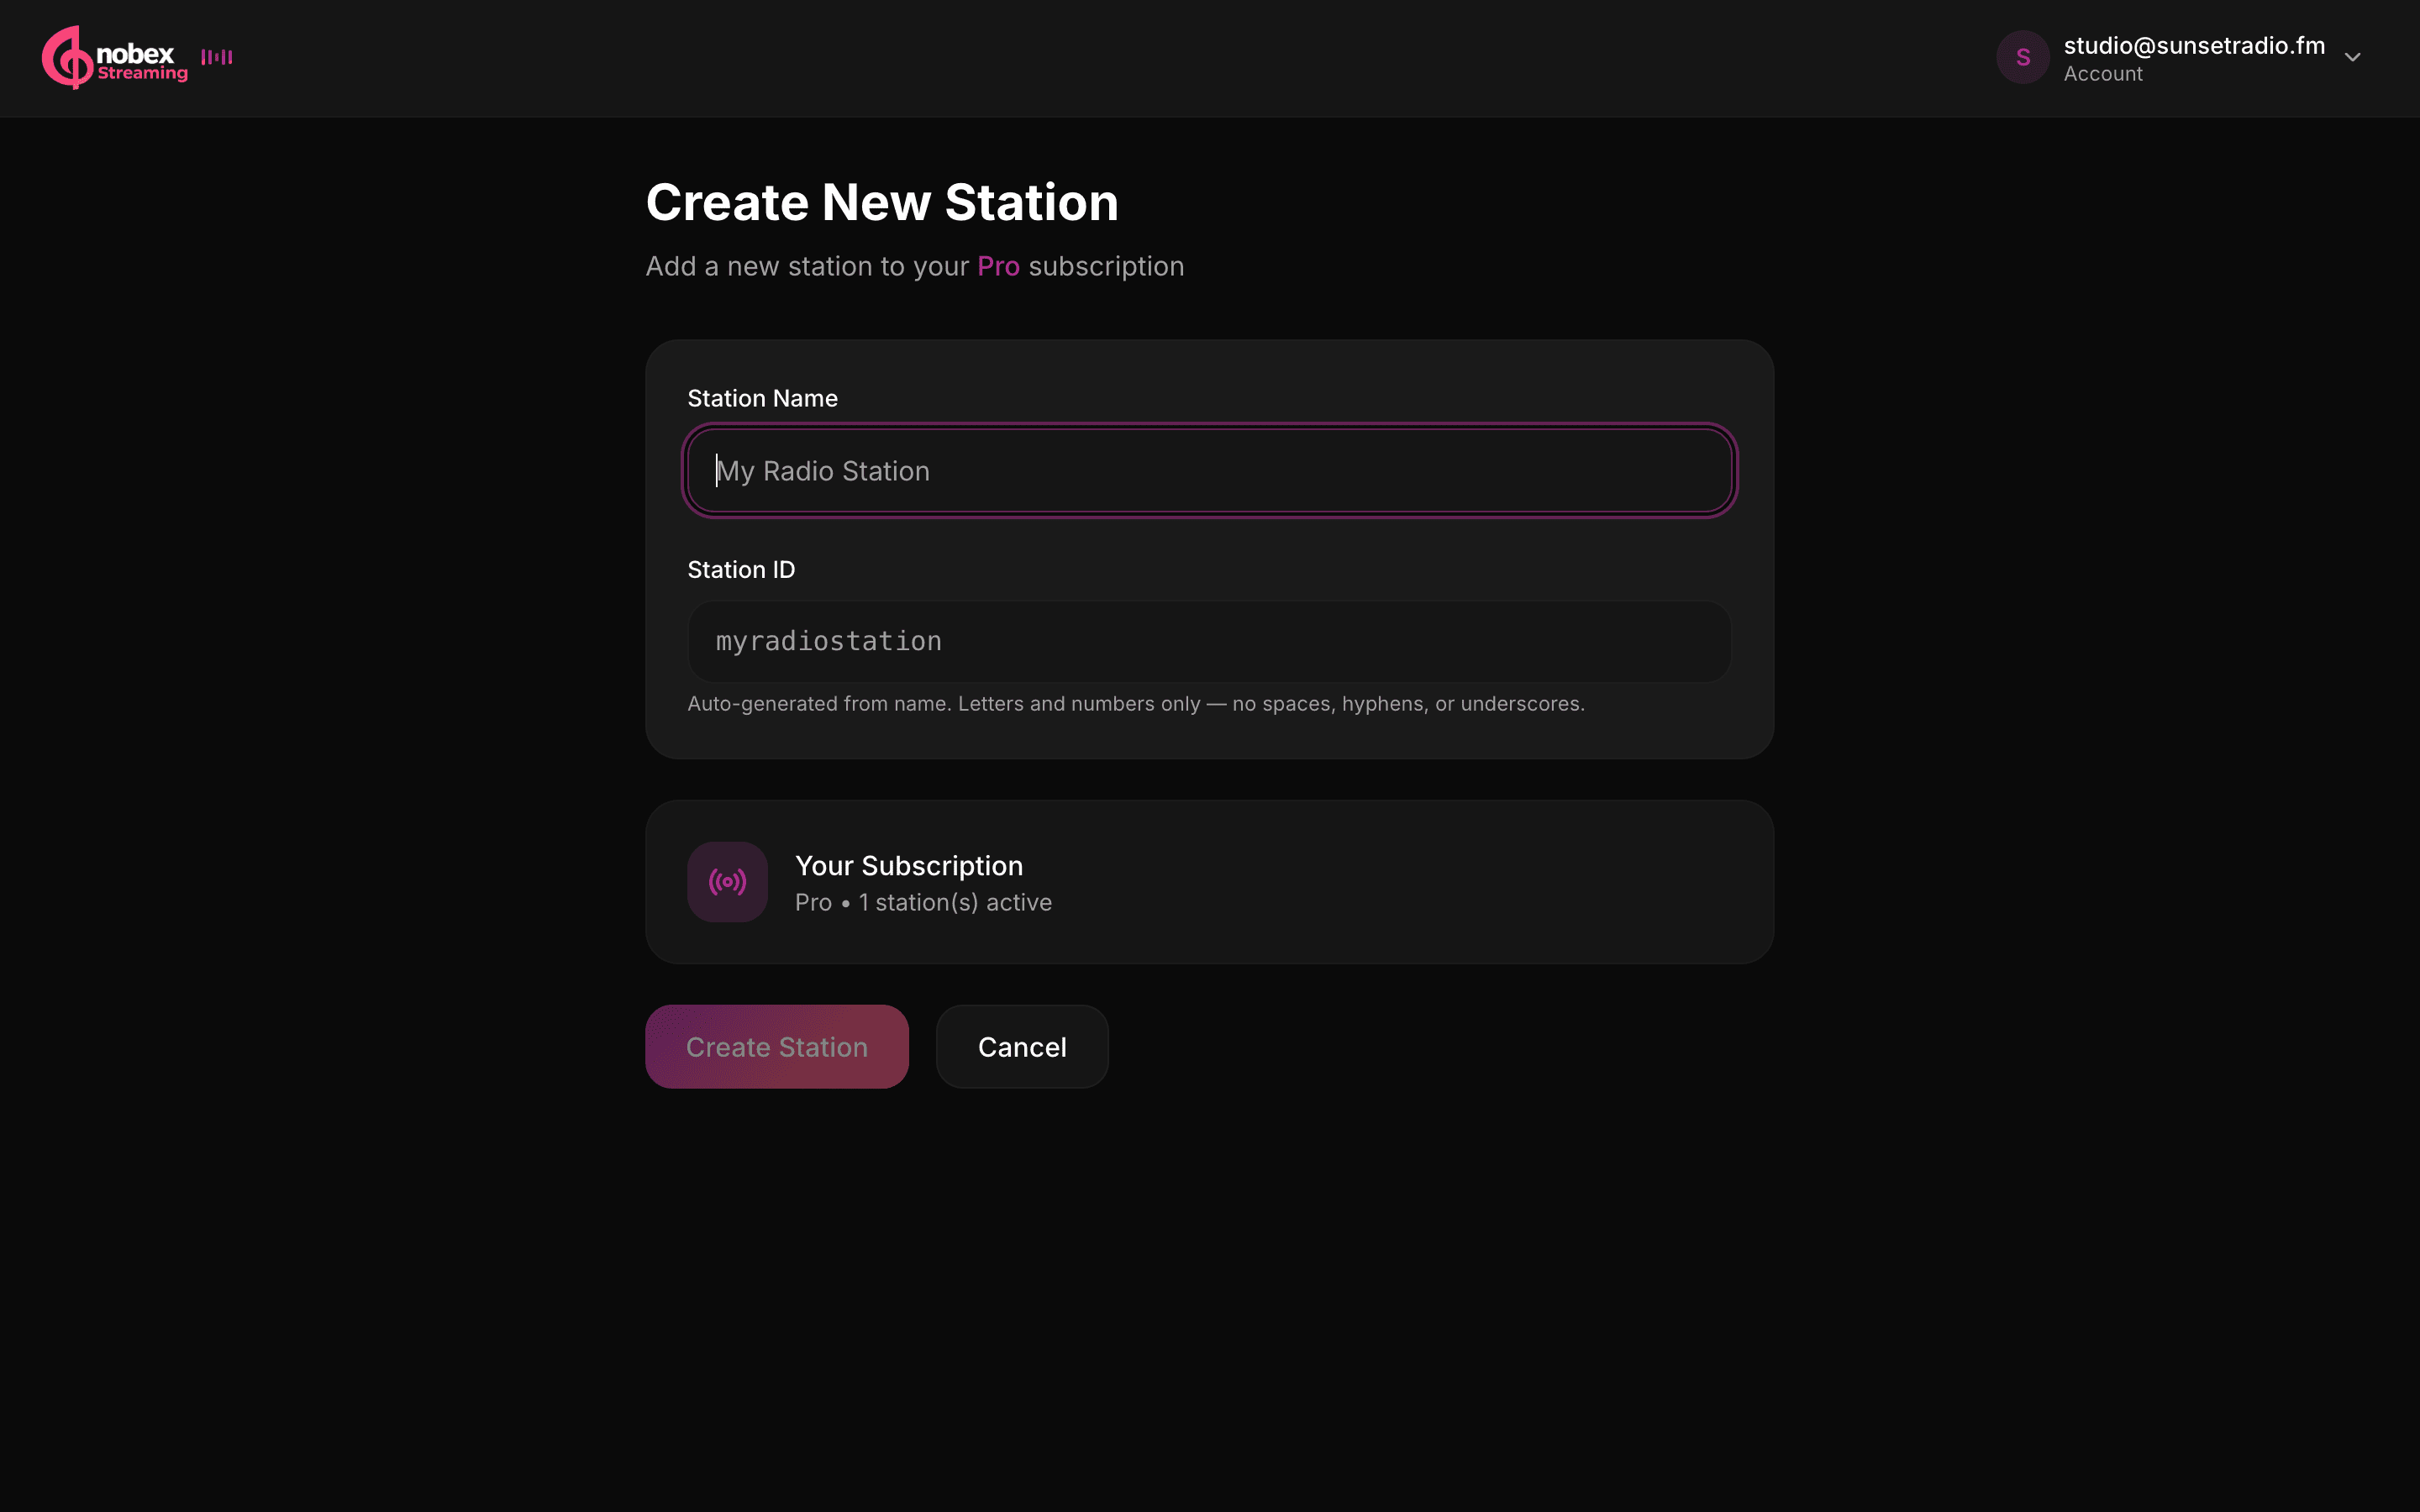
Once you're in the dashboard, click Create Station. Give it a name — as you type, Nobex generates a matching Station ID (the slug in your public stream URL). You can edit the ID, but choose it deliberately: it becomes the permanent address of your stream.
Tip
Your station ID becomes part of your listen links and public page. Short, memorable IDs are easier to share.
3. Upload your music
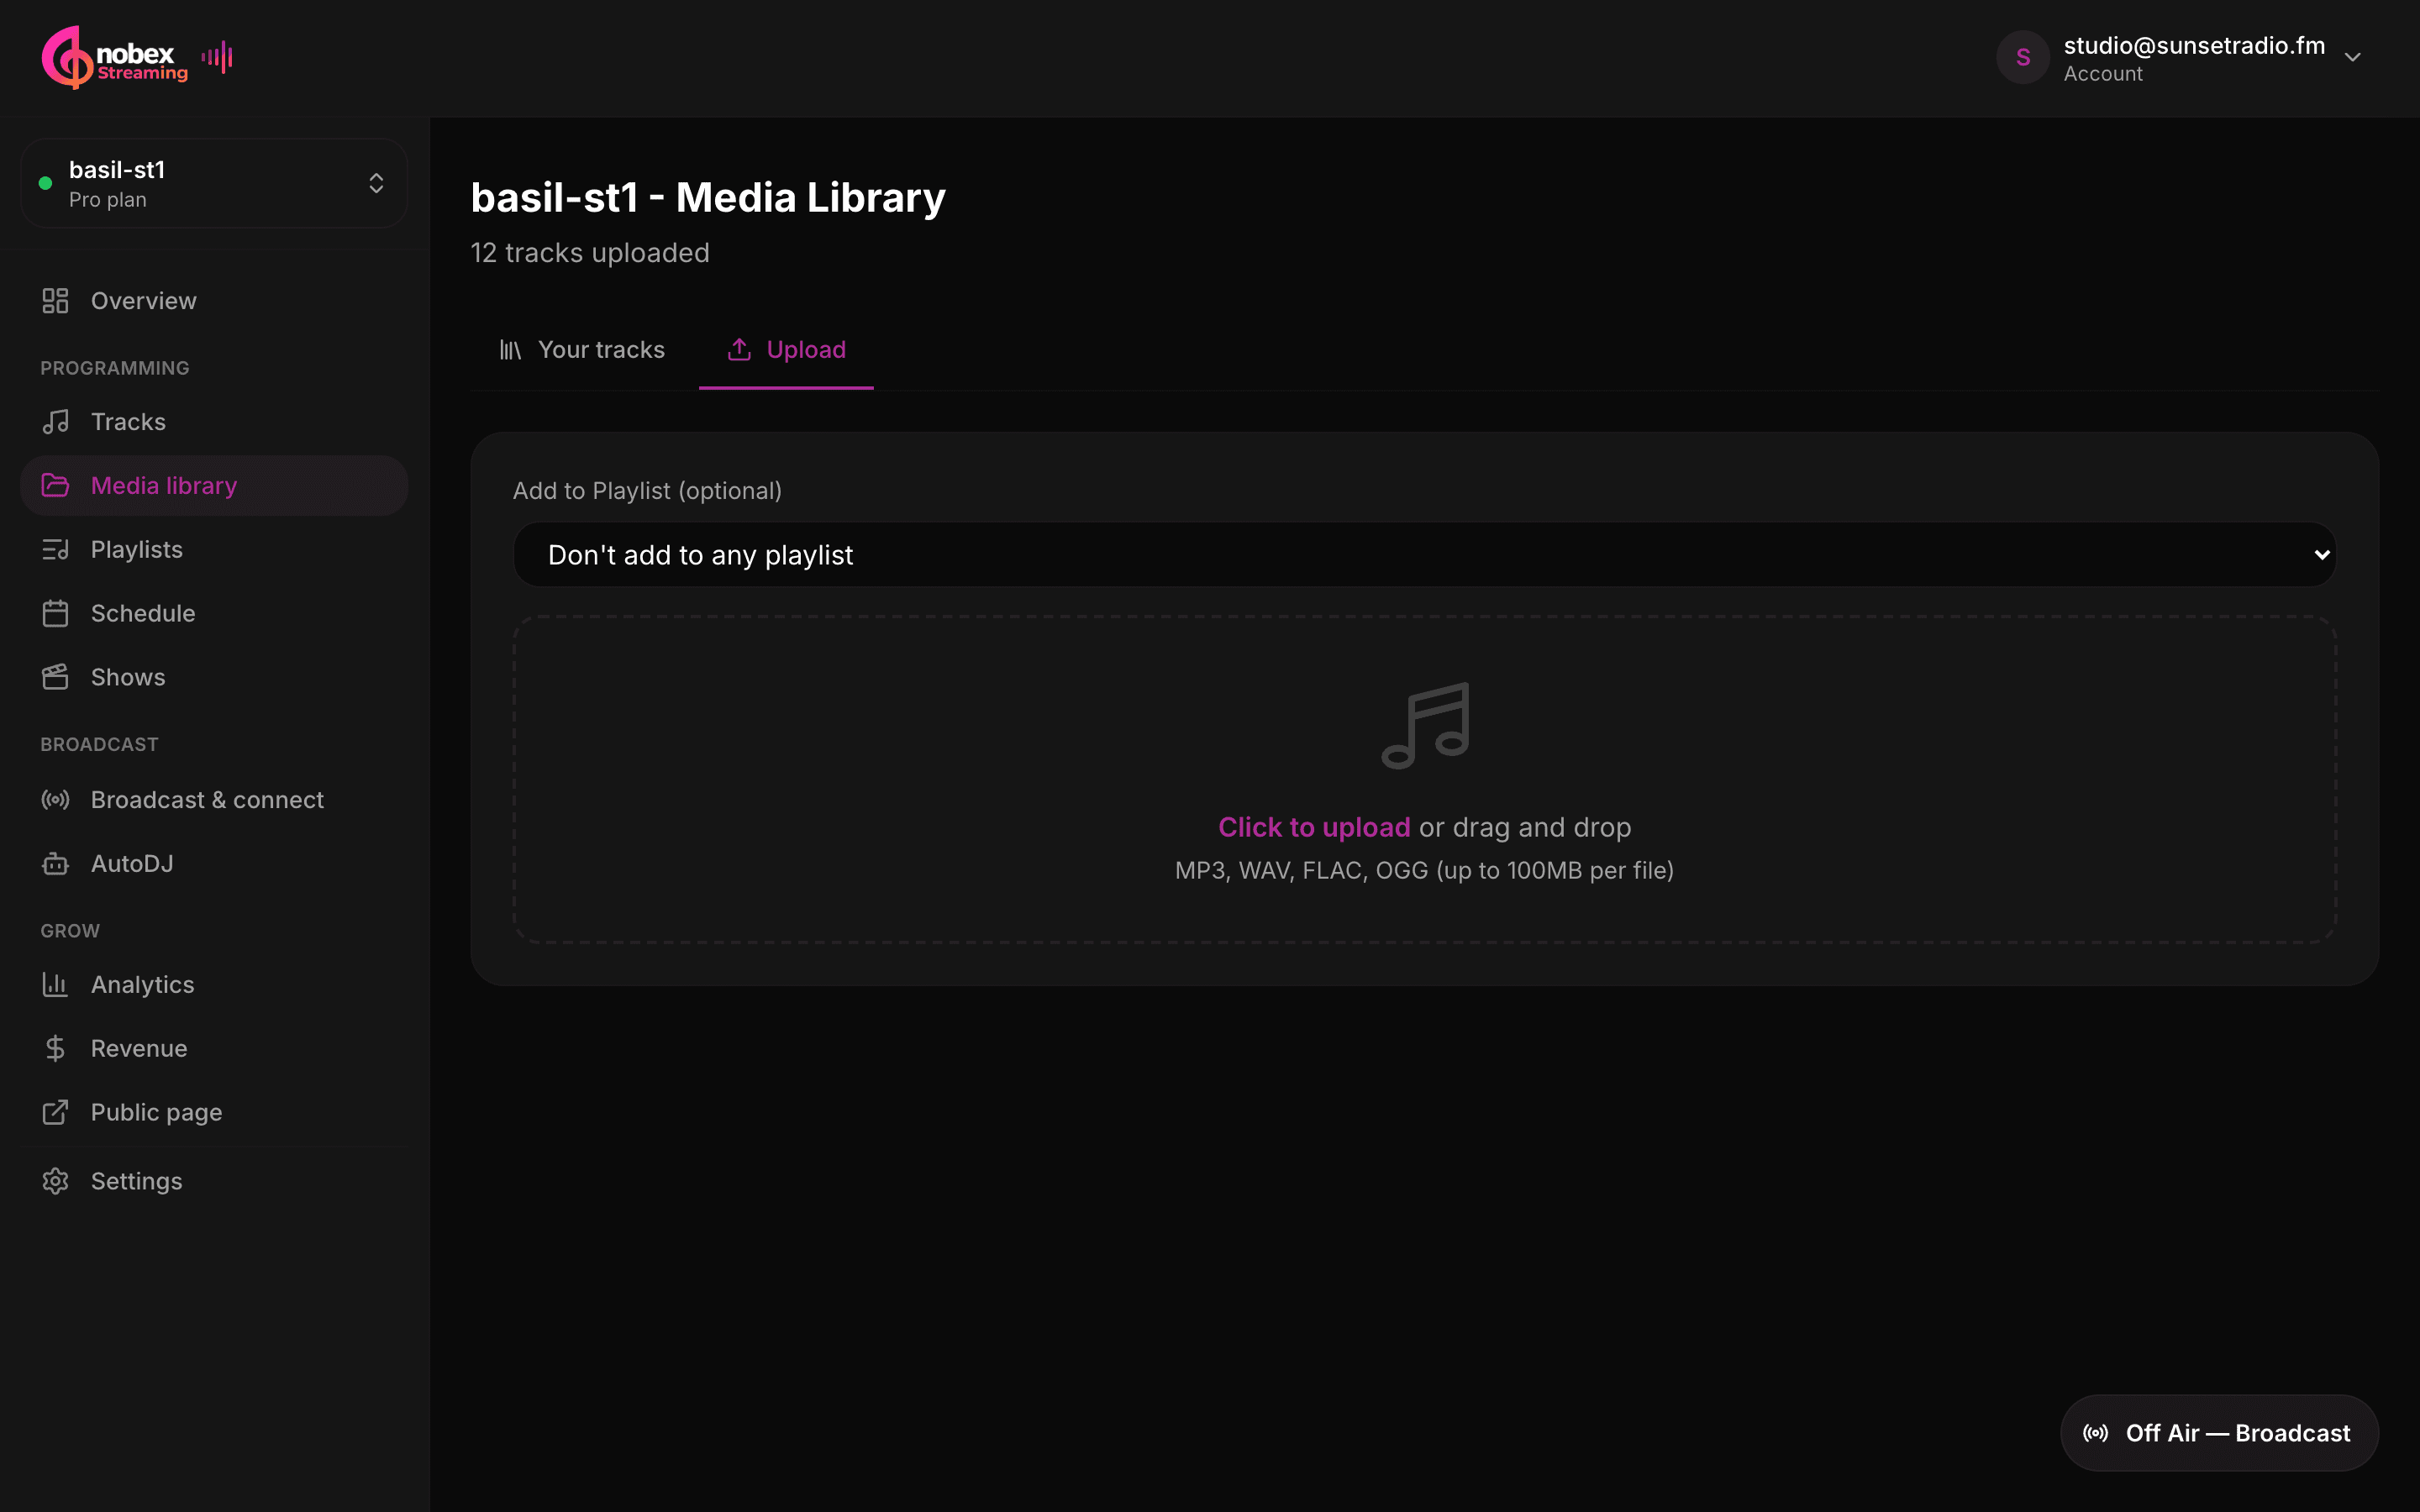
Open Media library from the station menu and drag your audio files onto the Upload tab. You can drop many files at once — each shows its own progress bar. Nobex reads the title, artist and album straight from the file's tags, so a tagged library is organized for you automatically.
- Supported formats: MP3, WAV, FLAC, OGG, M4A and AAC, up to 100 MB per file.
- Missing tags? You can edit any track's title and artist after it uploads.
- Optionally pick “Add to Playlist” while uploading to file tracks as they land.
4. Go on air
This is the moment. Click the floating Broadcast button (bottom-right of any station page) to open the broadcast panel, then press Start Broadcasting. Cloud AutoDJ spins up in the cloud and starts playing your library on shuffle — 24/7, even with your computer switched off.
- 1Open the Broadcast panel and press Start Broadcasting.
- 2Under AutoDJ plays, choose Whole library to shuffle everything (you can switch to a playlist or your schedule later).
- 3Watch the status pill flip to ON AIR — you now have a live radio station.
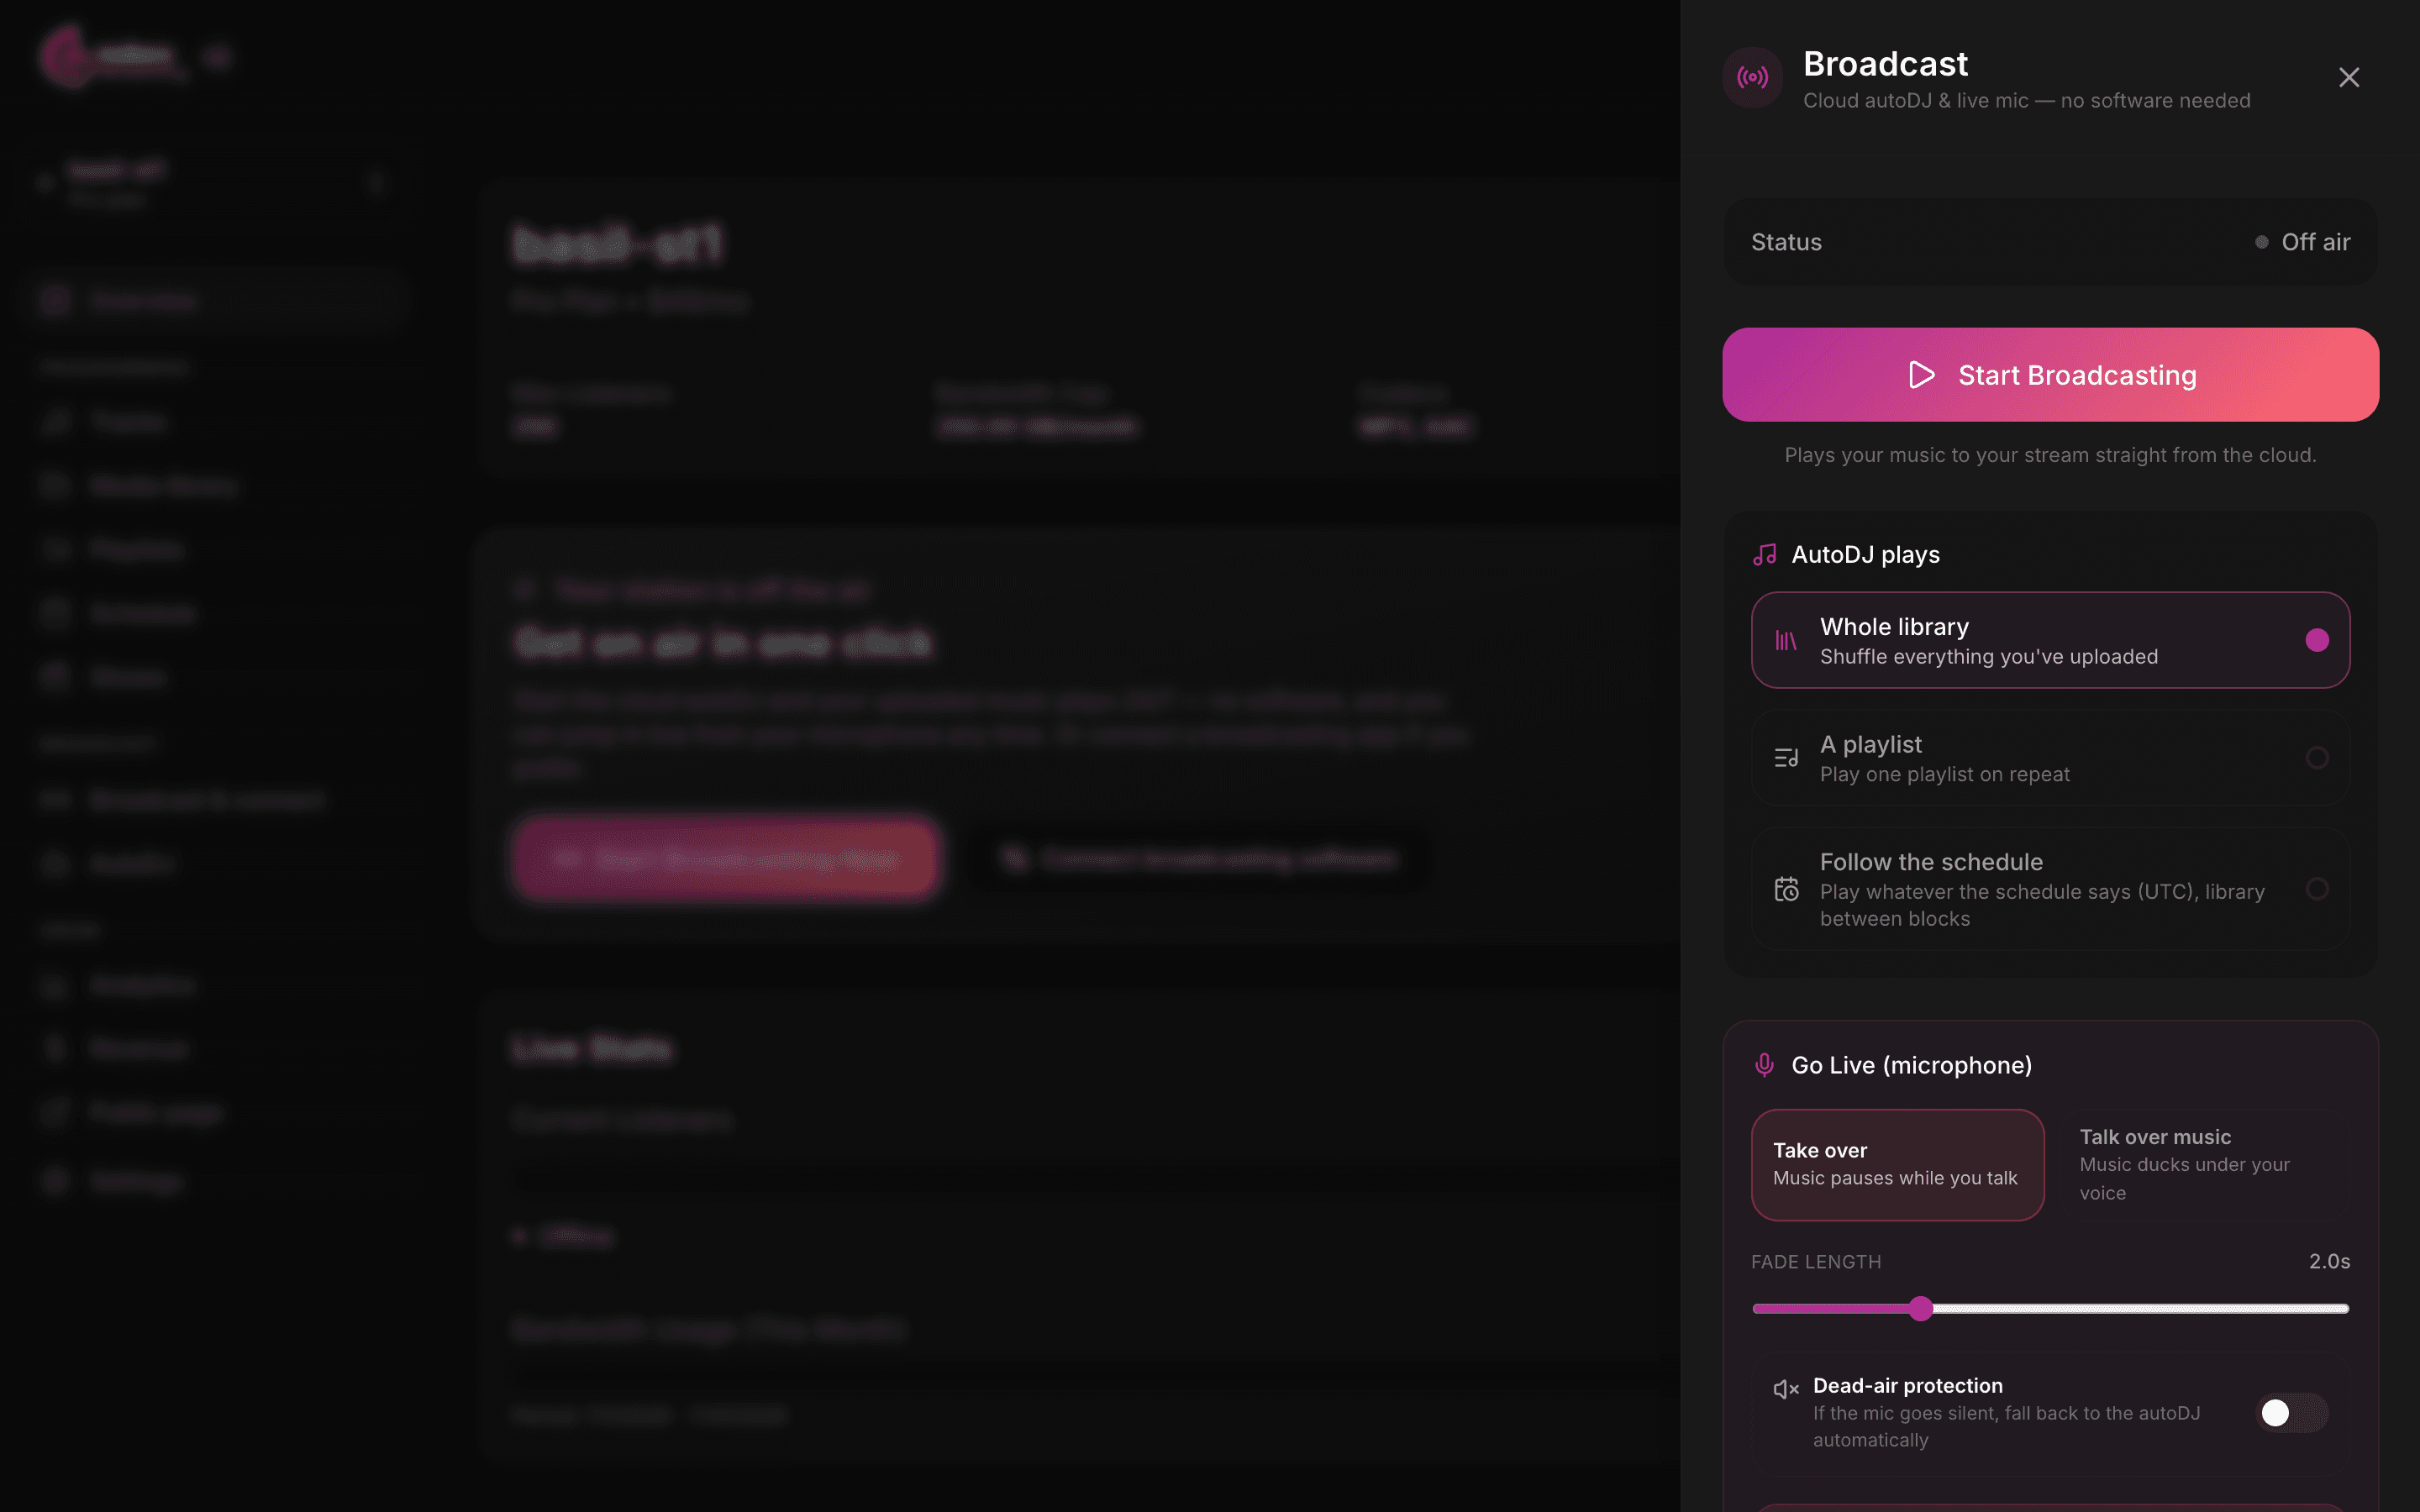
Want to talk live?
The same panel has a Go Live button that puts your browser microphone on air — either taking over the music or talking over a ducked music bed. See Go live from your browser.
5. Share your station
Every station gets a hosted public page with a player, now-playing info and your schedule. Open Public page from the station menu to grab a shareable link, generate a QR code, or copy a one-line embed snippet for your own website.
To have your station appear in the public [station directory](/stations), flip “List this station publicly” in Settings → Profile. It's off by default, so you're always in control of when you go public.
What's next
You're on air! From here, make your station sound like *your* station:
- Organize your sound with playlists and rotation modes.
- Program your week with schedules and shows.
- Reach more people with your public page, embeds and sharing.
- Turn listeners into revenue with tips, memberships and sponsors.
Keep reading
Ready to put this into practice?
Start a free trial and be on air in under five minutes — no software to install.
Start streaming free